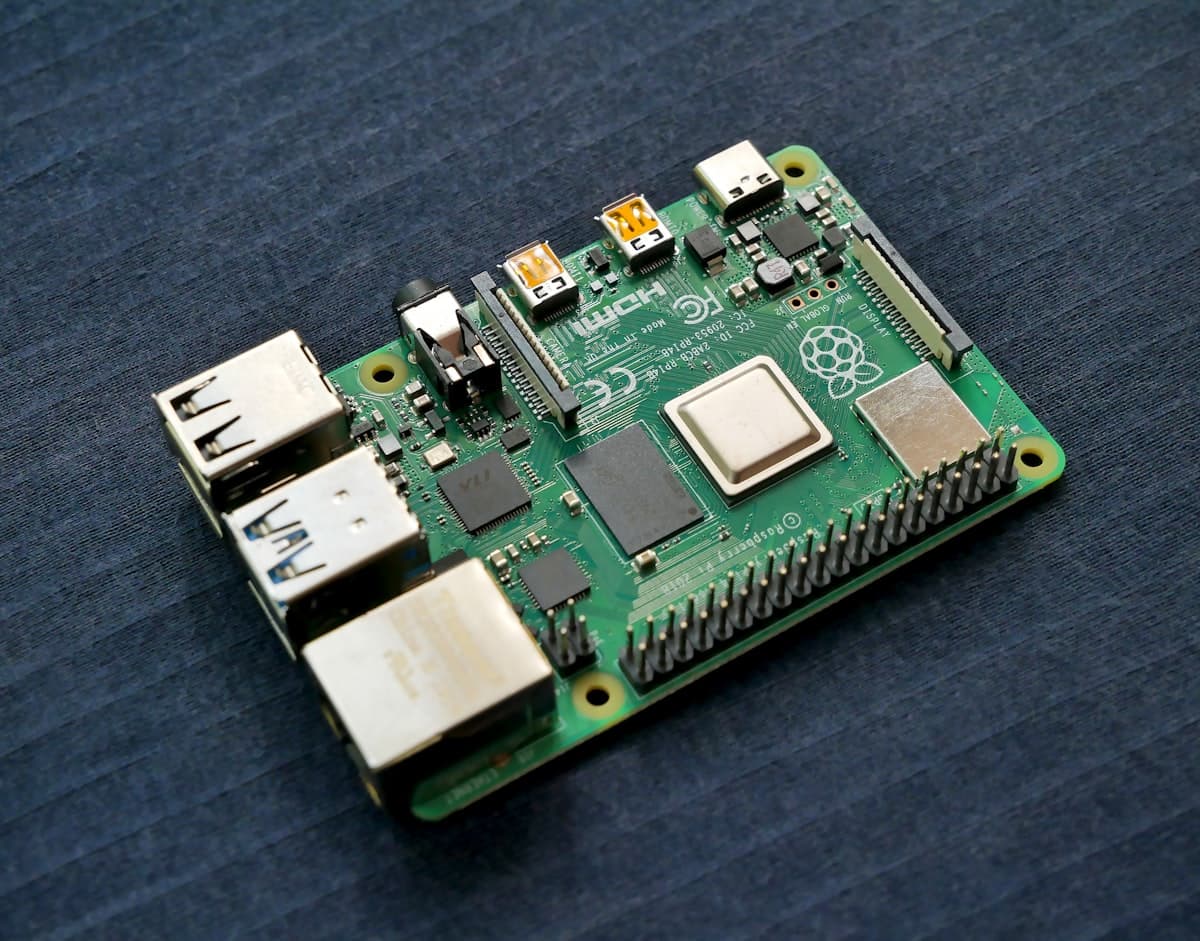
The reasoning is sound. The NAS already runs day and night, it has more RAM than a Raspberry Pi, and there is no SD card waiting to die. Why buy another box?
It is a good instinct, and for plenty of setups the answer is that you should not. But almost every guide to this stops at "install it in Container Manager, done" - and skips the one thing you most need to know before you start, because it is hard to undo afterwards.
The part the tutorials leave out#
Home Assistant comes in different installation types, and they are not the same product with different packaging. From Home Assistant's own comparison:
| Home Assistant OS | Home Assistant Container | |
|---|---|---|
| Automations, dashboards, integrations | yes | yes |
| Blueprints, backups | yes | yes |
| Add-ons | yes | no |
| One-click updates | yes | no |
Container Manager on your Synology installs Home Assistant Container. The documentation is blunt about it: Container installations "don't have access to" add-ons, and it adds a warning worth reading twice - "Some integrations, such as Thread and Z-Wave, are controlled by add-ons. There is no out-of-the-box support for these on Container installations."
What that costs in practice#
Add-ons are how most people run the surrounding pieces of a Home Assistant setup. Without them, on a Container install:
- Zigbee2MQTT - not available as an add-on. You can run it as a separate container, but now you are maintaining and updating it yourself.
- ESPHome - same story. Every ESP device you flash goes through a container you manage.
- Mosquitto, Node-RED, the file editor, terminal access - all add-ons, all absent.
- Z-Wave and Thread - explicitly called out in the docs as having no out-of-the-box support.
- One-click updates - gone. Updating means pulling a new image and recreating the container, by hand, every time.
None of this makes Container useless. If your setup is integrations, automations and dashboards - Hue, Shelly, a few cloud integrations, some scripting - Container does all of that and does it well.
Decide before you install, not after. Moving between Container and a VM later means restoring from a backup and reconfiguring anything tied to the host, which is exactly the afternoon you were trying to avoid.
Route 1: Container Manager#
The straightforward path, and the one the official docs cover for Synology.
- Install Container Manager from Package Center.
- Create a folder for the configuration, for example
docker/homeassistant, on a volume you back up. - In Container Manager, download the
ghcr.io/home-assistant/home-assistant:stableimage. - Create the container with host networking. This matters: Home Assistant discovers devices by broadcasting on your local network, and bridge networking breaks discovery for Chromecast, Shelly, HomeKit devices and most things that announce themselves over mDNS.
- Mount your config folder to
/configinside the container. - Open
http://your-nas-ip:8123and run the onboarding.
Updating, since one-click is not available: pull the new image, stop the container, recreate it with the same settings, start it. Your /config mount carries everything over. Take a backup first - the one time you skip it will be the time an upgrade goes sideways.
Route 2: Home Assistant OS in a virtual machine#
If you want the full product on the hardware you already own, run it as a VM.
Home Assistant publishes official VM images, including a .qcow2 for KVM, and asks for a minimum of 2 GB of RAM and 2 vCPUs. Check Package Center for Virtual Machine Manager - whether your model supports it depends on the NAS, so confirm before planning around it.
Inside the VM you get Home Assistant OS exactly as it runs on dedicated hardware: add-ons, the Supervisor, one-click updates, Z-Wave and Thread. The cost is the overhead of a full VM, and remembering that snapshots of a running database are not a substitute for Home Assistant's own backups.
The Zigbee problem nobody warns you about#
Whichever route you take, if you are using Zigbee you will pass a USB coordinator through to the container or VM. Get the software side right and you can still end up with a network that degrades as you add devices.
USB 3.0 signalling emits interference across the 2.4 GHz band - the same band Zigbee and Thread use. A NAS is full of USB 3.0 ports, and a coordinator plugged directly into one sits in that noise. Home Assistant's guidance is specific: use a shielded USB extension cable, connect to a USB 2.0 port rather than a 3.x one, and if the machine has only 3.x ports, use a powered USB 2.0 hub. 50 cm of cable is already enough to make a difference.
The symptom when you skip this is distinctive: everything works during setup, then the devices furthest from the coordinator start dropping, and it worsens as the network grows. People rebuild their mesh three times before suspecting the cable.
Where a NAS genuinely wins#
Two real advantages, worth stating plainly because they are why this is a good idea when it is a good idea.
No SD card. On a Raspberry Pi, Home Assistant's recorder writes every state change to a database on flash storage, and the recorder documentation names failing flash storage as the usual cause when a database has to be abandoned. On a NAS with proper drives, that entire failure mode is gone.
Backups you already have. Your NAS almost certainly has a backup regime. Home Assistant's backups land on it like anything else, instead of sitting on the same card that is going to fail.
And one honest caution: your NAS becomes part of your home's control system. Reboot it for a DSM update at the wrong moment and your heating schedule goes with it. On dedicated hardware, updating the NAS and controlling the house are independent problems.
Reaching it from outside#
A NAS makes this tempting to do badly. It is already on your network, it probably has QuickConnect enabled, and forwarding a port feels like one more small step.
Do not forward port 8123. That exposes your Home Assistant login to every scanner on the internet, and behind it sits the thing that unlocks your door.
Sane options:
- Nabu Casa (6.50 USD or 7.50 EUR a month) - simple, funds the project, covers Home Assistant only.
- Tailscale or WireGuard - nothing exposed publicly, but every person in the household needs a client app.
- A reverse SSH tunnel - the NAS opens an outbound connection, so nothing is forwarded and nothing listens publicly. You get a normal HTTPS address that family can just click.
That last option is what SmartHomeEntry does. Unlike Nabu Casa, it is not limited to Home Assistant - anything with a web interface can go through it, so the same account can also reach Jellyfin, Nextcloud or Synology Photos. Each service is its own tunnel with its own subdomain, so how many you can expose depends on your plan: the Home plan carries one, higher plans more. And because the connection goes outward, it works behind CG-NAT, where port forwarding cannot work at all no matter how you configure the router. The remote access guide covers why.
Choosing#
Container if you want integrations, automations and dashboards, are comfortable updating by hand, and do not need Z-Wave or Thread.
Virtual machine if you want add-ons, one-click updates, or any protocol the docs list as add-on-controlled.
Dedicated hardware if you would rather your house keep working while the NAS reboots - a Raspberry Pi or Home Assistant Green costs less than the evening you will spend recovering from an upgrade that went wrong at the wrong time.